Working with Notebooks
LabArchives is designed to be flexible and to complement your workflow. Typically, the PI, project lead, or an administrator will create the LabArchives notebooks and share them with other members of the team. Popular notebook structures include project- and grant-based notebooks, individual researcher notebooks, date-based notebooks, and team or company-based notebooks that contain shared materials to reference and reuse.
Create a Notebook
When you create your account, a notebook called My Notebook will be automatically created. You can use this suggested notebook or create your own notebooks.
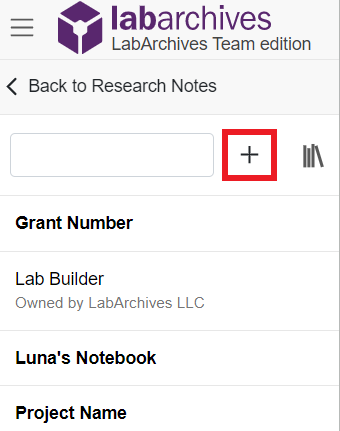
- To create a notebook, click Notebooks to view the list of notebooks and click the + Icon to create a new notebook. Name your notebook, select a folder layout, and click Create Notebook.
- When choosing the folder layout, keep in mind that you can further edit and modify the layout at any time.
- If you do not know where to start, choose a layout that is closest to what you may use and then rename, delete, and edit the folders to best meet your needs.
Organize Your Notebook
Once your Notebook has been created, it can be organized with a system of folders and pages. You can rename, move, or delete the folder structure based on your needs. You can organize your notebooks by project, researcher, instrument, or create a standardized folder structure for multiple notebooks.
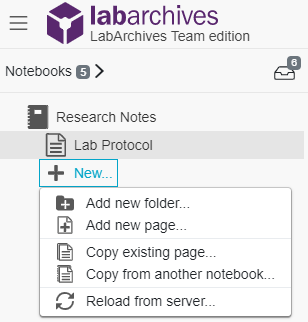
- To create a new folder or page, click + New in the Notebook Navigator.
- All folders and pages can be moved using drag and drop.
- Right click (Ctrl + Click for Macs) on the Folder or page name for options like renaming or deleting the item.
- Subfolders can also be created within other folders to better organize your information.
- You can even copy content over from another notebook (such as another notebook that may contain protocols or other shared materials). Choose Copy from another notebook and the select the content that then select the content that you wish to add to the current notebook.
Add Data to Your Notebook
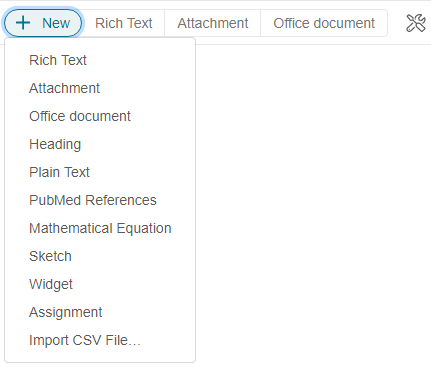
Data can be added to pages in your notebook using various entry types. To create an entry, select from the Add Entry toolbar at the top right of each page. The + New option reveals additional entry types.
To place an entry between two existing entries, move the cursor between the two entries and select from the insert tool bar.

Entry Types
Rich Text
Rich Text entries are the most common entry type in LabArchives. Rich Text allows for text formatting such as color and sizing. You can also add tables, embed images, videos, and links.

Attachments
- Any file format can be uploaded to LabArchives. Recognized file formats will display a thumbnail.
- To add an attachment, select Attachment from the Add Entry toolbar or drag and drop the file.
- Microsoft Office Documents can be edited within LabArchives using Microsoft Office Online.
- Images like .jpg, .gif, .png can be annotated with the Image Annotator.

Widgets
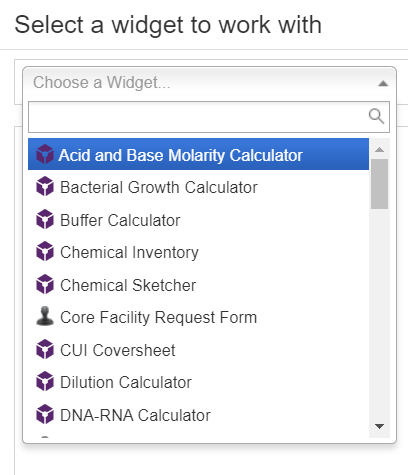
- Widgets allow users to extend the capabilities of LabArchives. You can create forms, templates, and even custom programs that operate within your Notebooks.
- To add a widget to your page, select Widget from the add entry toolbar. From here, choose the widget you want to use in your LabArchives Notebook, and it will be added as an entry.
- You can create custom widgets through the Widget Manager.
Working with Entries
Edit Entries
To edit an entry, click the Pencil icon. When finished editing your entry, click Save to page.

Tagging
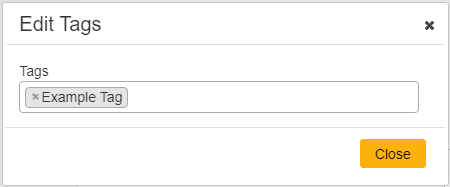
Tagging allows you to add metadata to your notebook. This builds an internal vocabulary with your team and improves search results. Click the Skewer menu and select Tags.
Linking
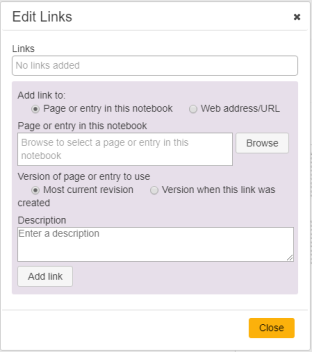
Links can be added to point to a web address or to another page or entry in your Notebook. Using Version when this link was created, you can link to an entry in its current state. Click the Skewer menu and select Links.
Commenting
To communicate with other members of your notebook, you can add a comment to an entry through the Comment icon. To alert a specific user use @mentions. Mentioned users can receive an email notification or an activity feed notification.

Review Past Versions
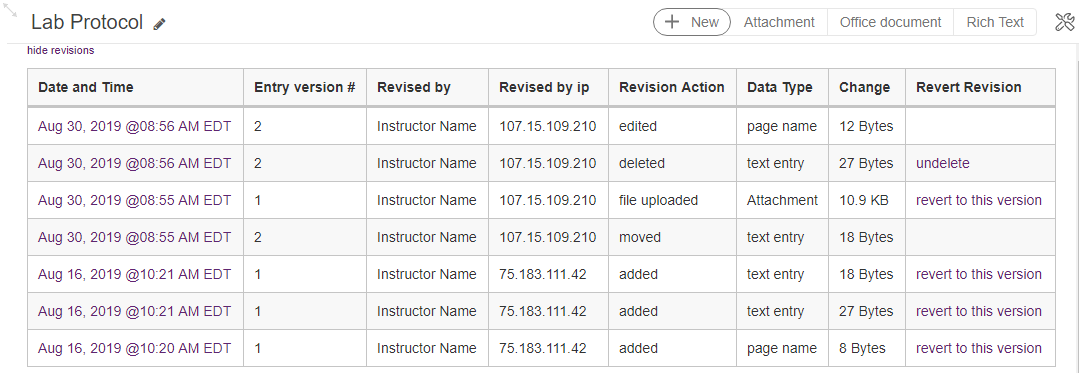
LabArchives stores every version of each entry and page that you make — whether it is an Attachment, a Rich Text Entry, or a Widget. Each revision is stored with an exact date and time stamp of when the entry was changed. You can always revert to a previous version of your data or undelete an item. Select Page Tools and View revisions for the complete page history.
